
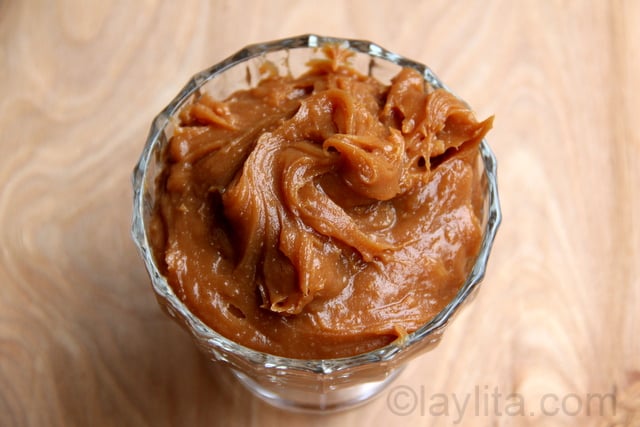
Manjar or dulce de leche
Recipe for homemade manjar or dulce de leche, a traditional Latin dessert made by caramelizing milk and sugar.

Dulce de leche is one of the most popular desserts in Latin America. It doesn’t matter if you’re in Mexico, where it’s known as cajeta and made with goat milk; in Colombia, where it’s called arequipe; or all the way south in Argentina, everyone (I hope) loves dulce de leche.

In Ecuador, dulce de leche is also known as manjar de leche or manjar blanco, the word manjar translates as a special treat or delicacy. Manjar is usually made with raw milk and panela or piloncillo; this gives it a strong flavor, which I really didn’t like when I was a kid. During our last visit to France, while spending some time in the mountains – where many dairy products are made, mainly using fresh raw milk – I tried a locally made confiture de lait and found the taste to be very similar to the Ecuadorian manjar.

Manjar or dulce de leche – traditional stovetop preparation
Ingredients
- 8 cups of whole milk
- 2 to 2 ½ cups sugar or panela/piloncillo raspadura adjust based on the level of sweetness you prefer
- 1 teaspoon vanilla
- ¼ teaspoon baking soda
Instructions
- Combine all the ingredients in large pot over medium low heat, stir until the sugar or panela is well dissolved. Reduce the heat to low.
- Continue cooking until the mixture is significantly reduced and starts to thicken while the color changes from a creamy beige to a caramel tone – it will take between 2 ½ hours to 3 hours for the dulce de leche to be done.
- During the first 1 ½ hours you will need to stir occasionally to prevent it from boiling over and sticking. During the last hour it needs to be stirred more frequently and has to be watched very closely to keep it from burning – you can also decrease the heat to low. Cook it until it has a dark amber or caramel tone and has a creamy consistency. Keep in mind that it will thicken more when it cools down.
- Can be served warm or cold and must be kept refrigerated.
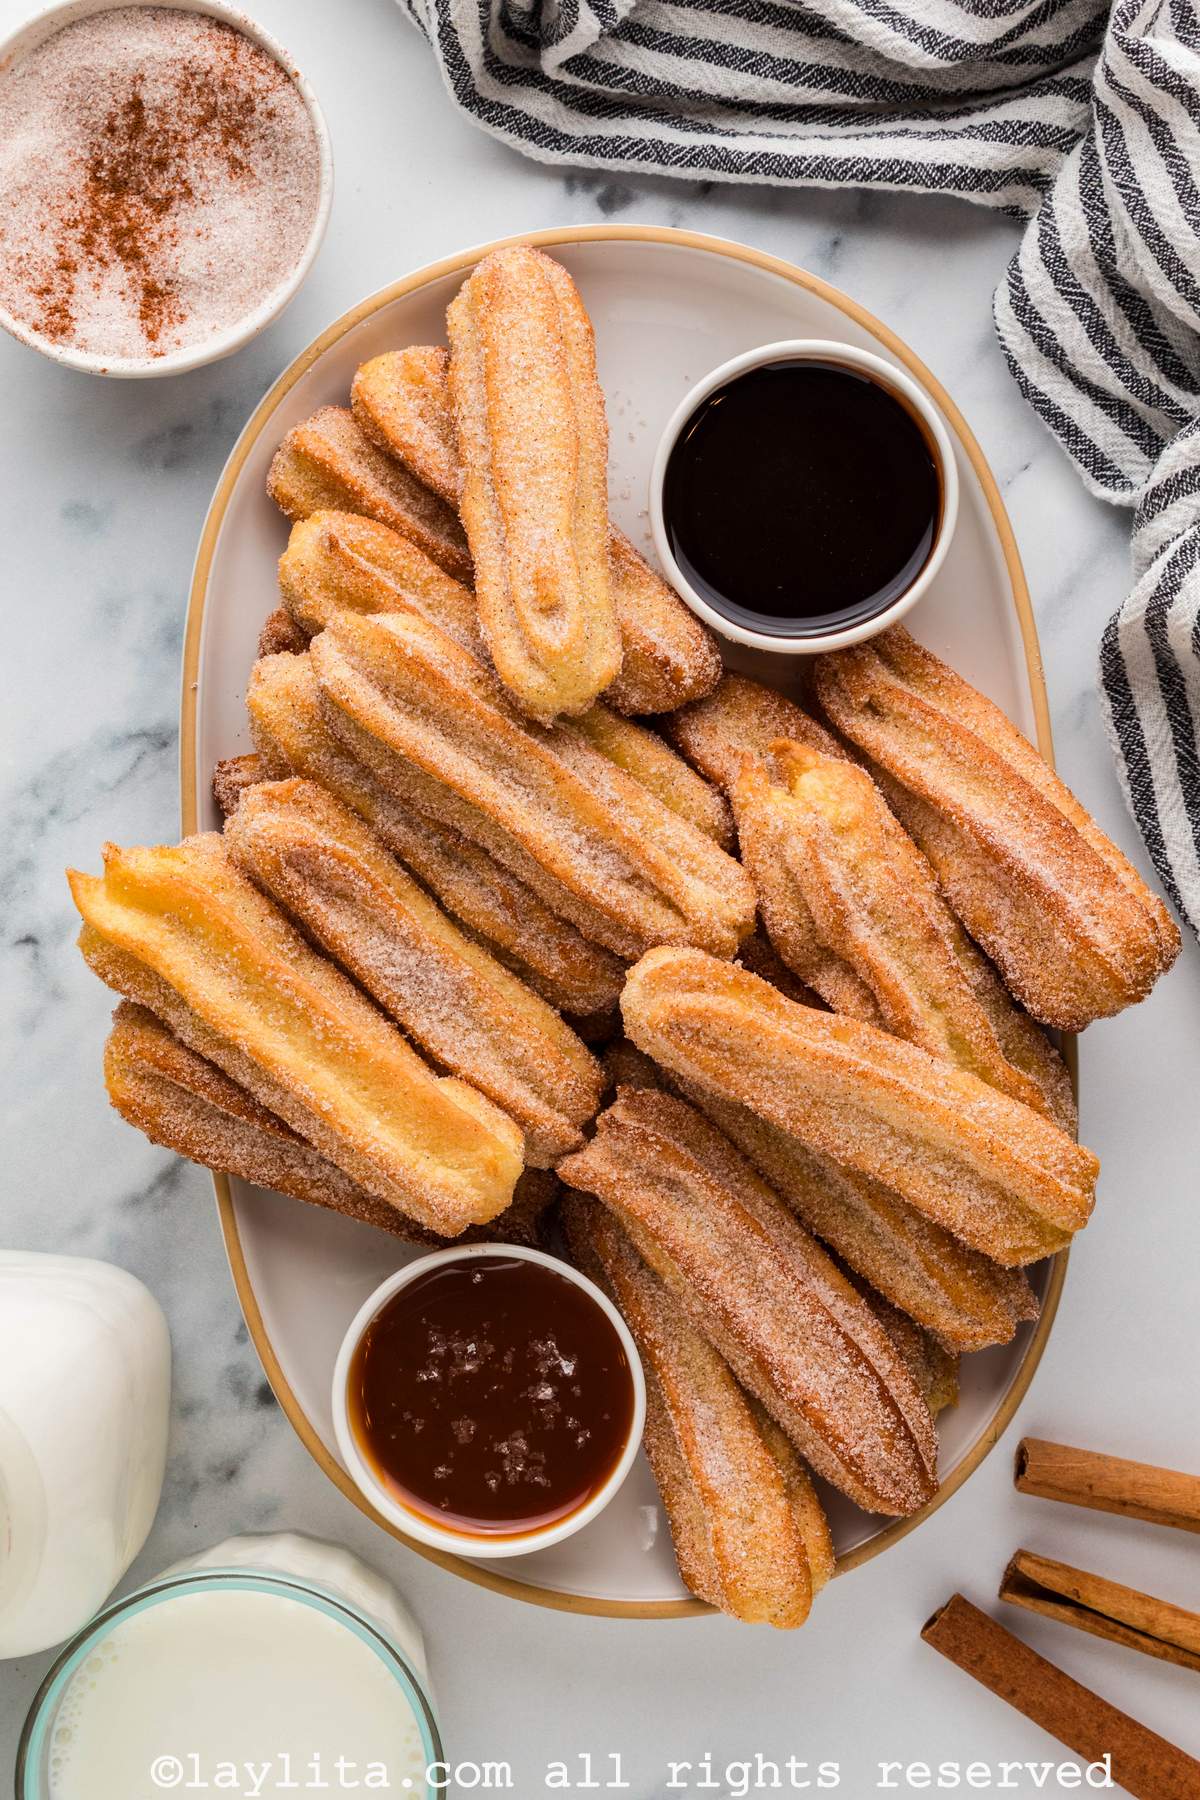
Dulce de leche can be a dessert by itself, just take a spoonful of it and let it melt slowly in your mouth. It is also great as a topping for ice cream, pancakes, crepes, etc. My kids love to eat it on toast or cookies. Dulce de leche is also a key ingredient for many Latin desserts such as alfajores, empanadas, flan, cakes, and more. These days you can buy good quality dulce de leche at any grocery store.
Making it at home from scratch can be time consuming, but the process is actually easy; it just requires a little bit of patience and a lot of stirring. There are several shortcuts to making homemade dulce de leche, but most involve using condensed milk, so the end flavor isn’t as good as when you make from scratch with fresh milk. I add a teaspoon of vanilla to my preparation, but you can also use cinnamon if you prefer.

For those who want an easier method for dulce de leche than making it completely from scratch, you can make it with condensed milk in the oven using a water bath or double broiler method. It still takes a good amount of time to be done, but you don’t have to stir it constantly and it only requires minimal supervision. Keep in mind that the condensed milk is already sweetened and at least for me, I find dulce de leche made with condensed milk a little bit too sweet.
When making it from scratch you can adjust how much sugar you include and you can also use panela or piloncillo instead of sugar. I’m including both the traditional from scratch dulce de leche recipe and the oven variation using condensed milk. Dulce de leche can be served warm or cold; it will thicken when it cools down and become more liquid when re-heated.
Manjar or dulce de leche – Oven water bath method
Ingredients
- 2 14 ounce cans of condensed milk
- 1 teaspoon vanilla
Instructions
- Pre-heat the oven to 425F.
- Pour the condensed milk into a square baking pan or pie dish; you can add a teaspoon of vanilla or cinnamon if you like. Cover with foil.
- Place the square pan in a larger pan and pour hot water into the large pan, the water level should be between ½ – ¾ of the square pan with the condensed milk.
- Bake for about 3 hours to 3 ½ hours. If the water level gets low add more water as needed. During the last hour you can check it every 30 minutes to see if the dulce de leche is ready – it should be a rich amber color. You can also do a taste check to test it.
- Once the dulce de leche is ready remove it from the oven and let it cool down. Once it’s safe to handle, use a fork or whisk to mix it well. It can be eaten warm or cold. Keep refrigerated.
Step by step preparation photos for dulce de leche on the stovetop


Step by step preparation photos for dulce de leche in the oven


Discover more from Laylita's Recipes
Subscribe to get the latest posts sent to your email.

Hi Laylita (and anyone who can help), I made dulce de leche last night and unfortunately it wasn’t a success. I used a different recipe, and am looking for a different recipe to try again (hopefully with more success). The recipe I made called for 1 quart whole milk, 1 cup sugar, 1/4 tsp baking soda and 1/4 tsp vanilla. The final product was grainy and not that thick smooth stuff you get from the can that’s so good. Before I try this recipe, is there anything you suggest in order to avoid the same results? Thank you!!
Hi Lacie – It’s important to stir it frequently during the end and use a whisk to mix/stir it, this prevents it from getting clumpy/grainy.
Thank you!! I made this over the weekend and it was OUTSTANDING!!!!
I have bought it in the past, and never will again! the taste if out of this world! Totally worth the time to make it. This will be made often in my house! Best way to serve it is with a spoon :)
I have boiled it in the past, didn’t like that, it made me nervous, and it just didn’t taste rite. I did the oven method, didn’t like that either. I wanted that true caramel taste.
Thank you so much!!!!
I am going to try making the fresh milk version it in my ceramic bean pot on a low heat in the oven. I think it will take all day but oh well : )
There’s actually an easier way to make it – just boil a can of condensed milk in water for about three hours (at least two, but three if you want it darker). And you have to make sure the can is fully submerged in the water at all times! I had an episode where I fell asleep and was awakened by an exploded can and droplets of brown caramel all over my kitchen. Yikes.. :)
Yes, you’re right in that this is the easiest way to make it, but it just doesn’t taste the same. I’ve tried them both ways, and the flavor of the one you make on the stove top is way superior to the one where you just stick the can in the oven.
I’m actually planning on making this for a Spanish project and was wondering which recipe would be easier to follow for a novice baker?
The oven one is easier, since you don’t have to constantly stir it and watch it.
That’s actually the one I’m working on! Thank you!